> For the complete documentation index, see [llms.txt](https://docs.revrobotics.com/llms.txt). Markdown versions of documentation pages are available by appending `.md` to page URLs; this page is available as [Markdown](https://docs.revrobotics.com/ion-build/motion/pivot-joints.md).

# Pivot Joints

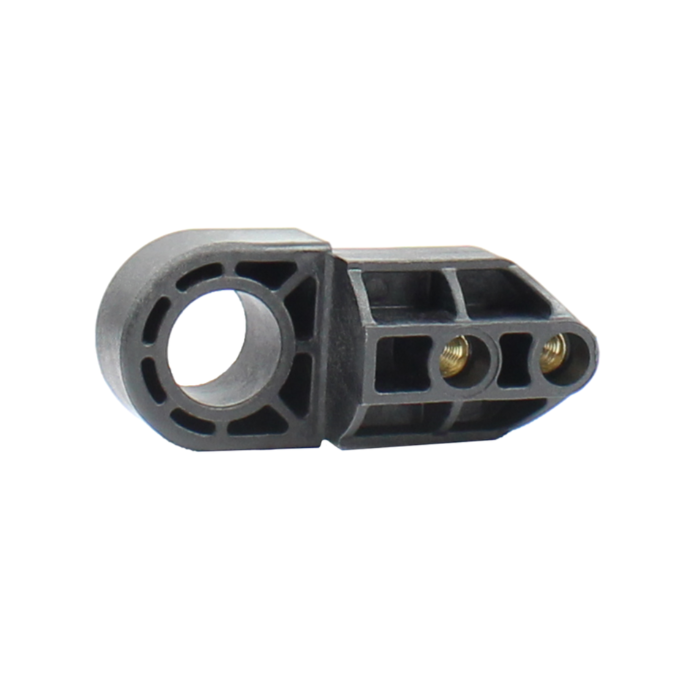
The ION 1in Pivot Joint ([REV-21-2395-PK2](https://www.revrobotics.com/rev-21-2395/)) can be used in numerous ways within the ION Build System to create a pivot joint at the end of a piece of MAXTube - 1x1 or 2x1 with Grid Structure.

<figure><img src="/files/VZ3vwEFl8DWisqmjU4LD" alt=""><figcaption><p>1in Pivot Joint (REV-21-2395-PK2)</p></figcaption></figure>

### Constraining Motion

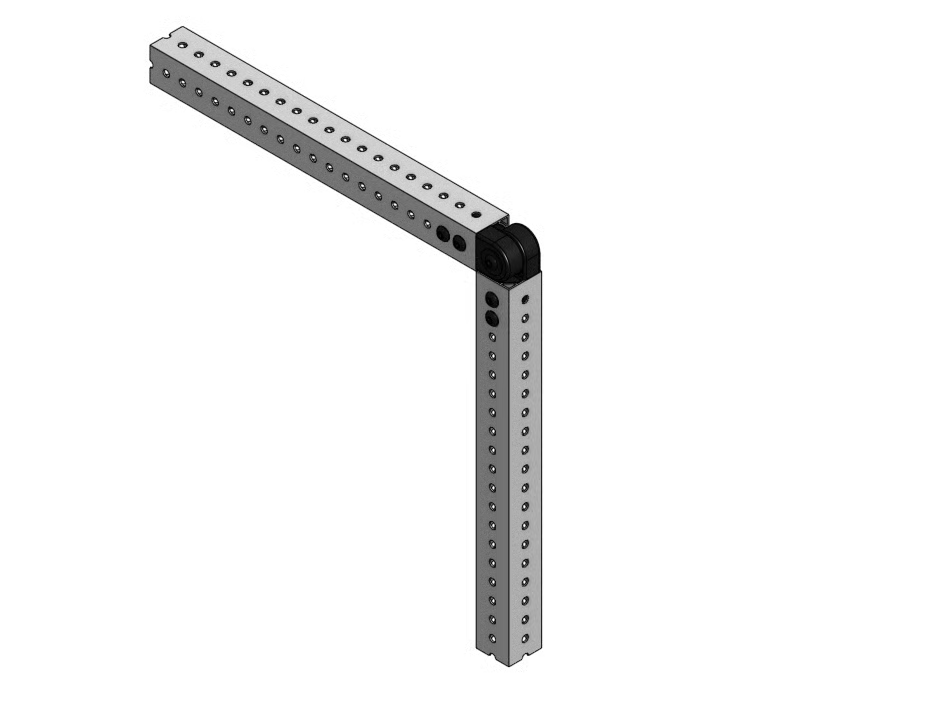
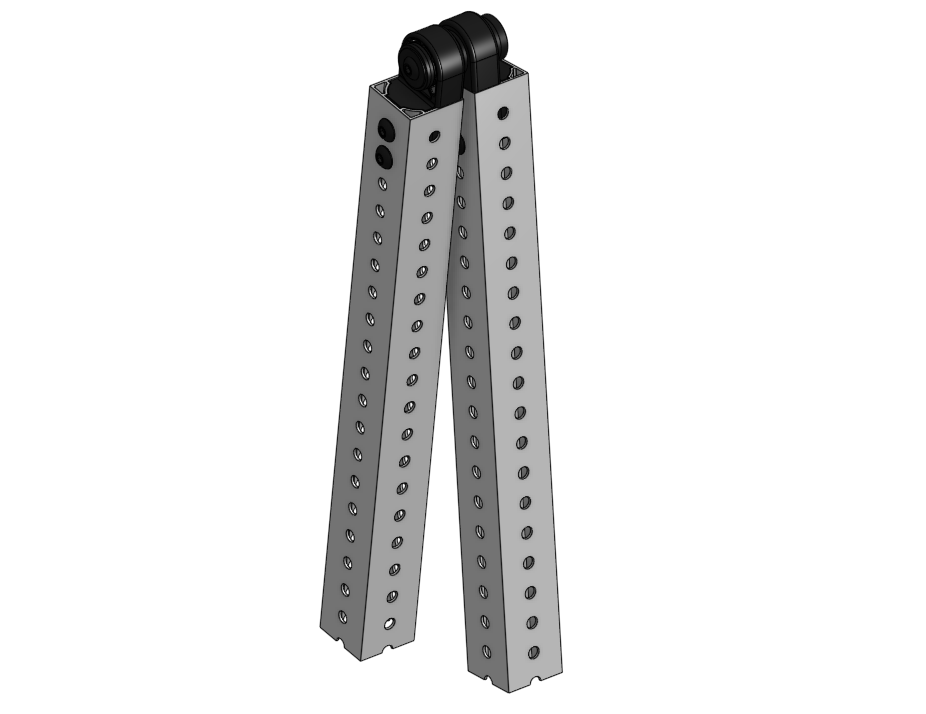
For designs where one or more MAXTubing needs to behave fixedly, like an elbow or a hinge. The Pivot Joint can constrain MAXTubing, allowing for rotational movement around a fixed axis for many degrees of rotation.&#x20;

1. First, cut two 1x1 Extrusions to the desired length.
2. Next, insert four #10-32 x 3/8in Button Head Drive Screws into opposite sides of the Pivot Joint. Repeat for the other Pivot Joint.
3. Then, place a Tapped 1in 1/2in Hex Shaft into one of the Pivot Joints, and sandwich the two Pivot Joints together. Insert two #10-32 Shaft End Screws into the Hex Shaft to secure the assembly.

<figure><img src="/files/jzfIMOEpoVAYJBFCqPdh" alt=""><figcaption><p>Two 1x1 MAXTubing in a typical elbow hinge configuration.</p></figcaption></figure>

### Supporting Motion

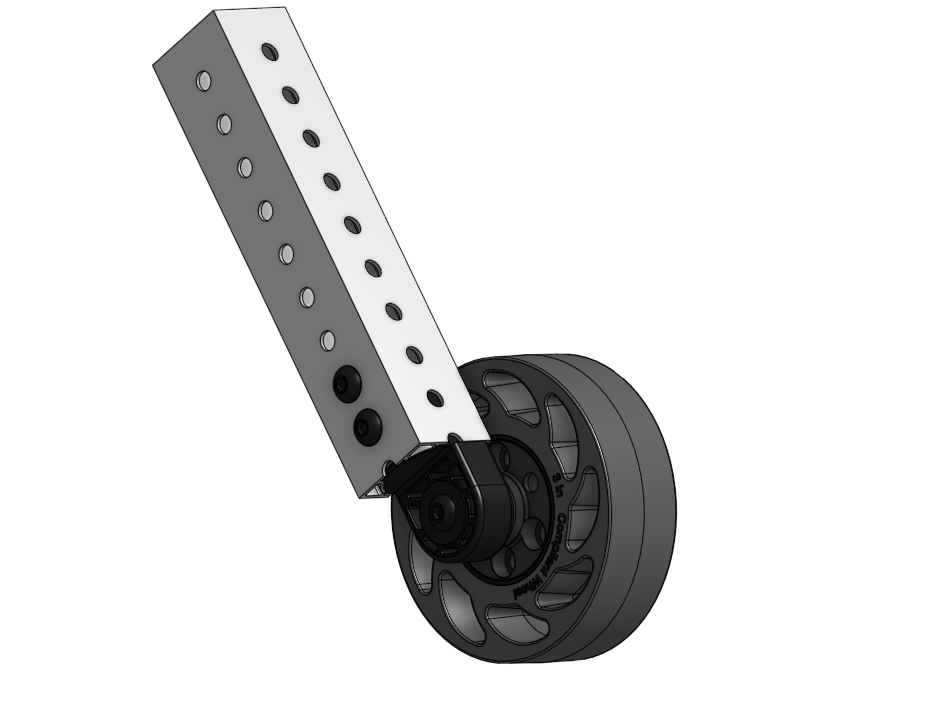
If your design calls for moving structures, the 1in Pivot Joint can serve as a shaft bearing to support a wheel. This allows a fixed point to have rotational movement, similar to the example picture.

1. First, cut the 1in Extrusion to the desired length.
2. Next, insert four #10-32 x 3/8in Button Head Drive Screws into opposite sides of the Pivot Joint.
3. Then, place a Tapped 1in 1/2in Hex Shaft into one of the Pivot Joints with a #10-32 Shaft End Screw.&#x20;
4. From here, you will need to determine what size spacer would be best for your specific application. But in this example, a 1/4in Hex Spacer and a 1/8in Hex Spacer were used.
5. Finally, slide your Compliant wheel loaded with 1/2in Hex MAXHubs on the shaft and secured everything with a #10-32 End Screw.

<figure><img src="/files/l1Q7FG7ZFrkaoAZJtFHf" alt=""><figcaption><p>1x1 MAXTube using a 1in Pivot Joint to capture an ION compliant wheel</p></figcaption></figure>

## 1in Pivot Joint Example Applications

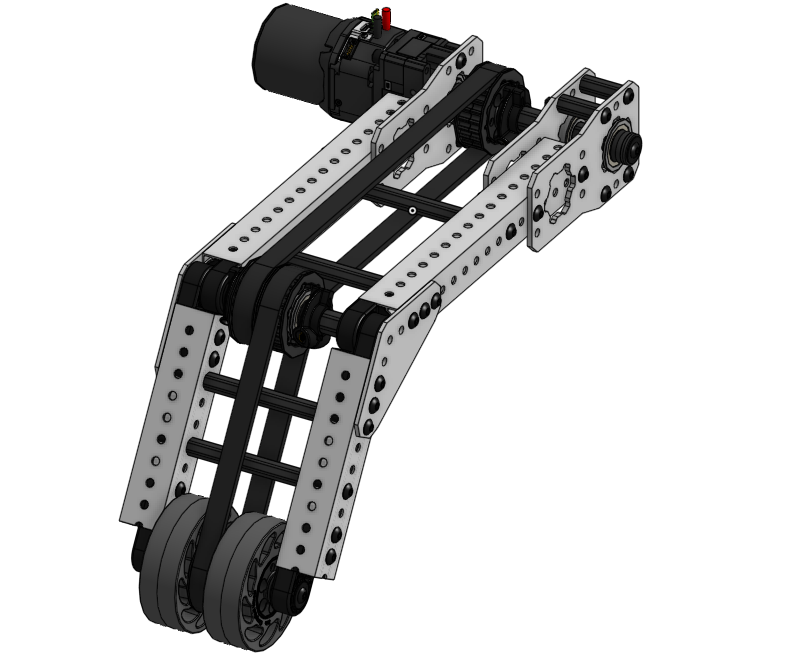
<figure><img src="/files/FUae8mMOJCPynrUWyp4k" alt=""><figcaption><p>Motorized angled bracket joint with compliant wheels.</p></figcaption></figure>

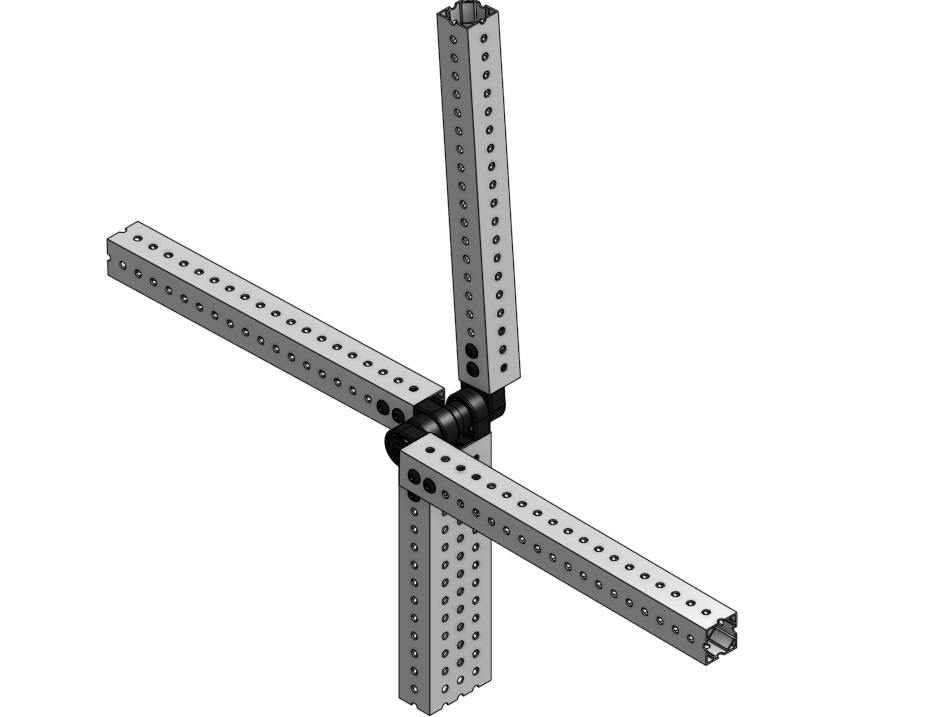
<figure><img src="/files/75XJEn4sIXoT5SNMvmZN" alt=""><figcaption><p>Three Pivot Blocks in the ends of a 2x1 MAXTube.</p></figcaption></figure>

<figure><img src="/files/5ZD8vEMqELlzYTbRXhAY" alt=""><figcaption><p>1x1 to 1x1 MAXTubing in an offset hinge configuration.</p></figcaption></figure>